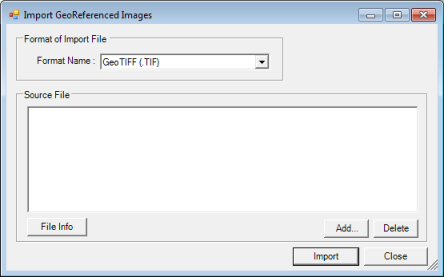
| Import Georeferenced
Images to open the Import
GeoReferenced Images dialog box.
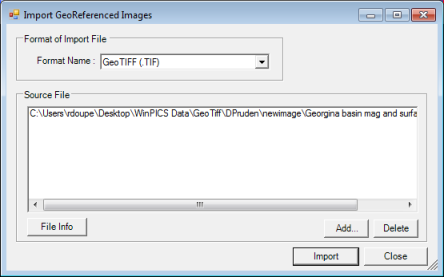
| Import Georeferenced
Images to open the Import
GeoReferenced Images dialog box.  View image
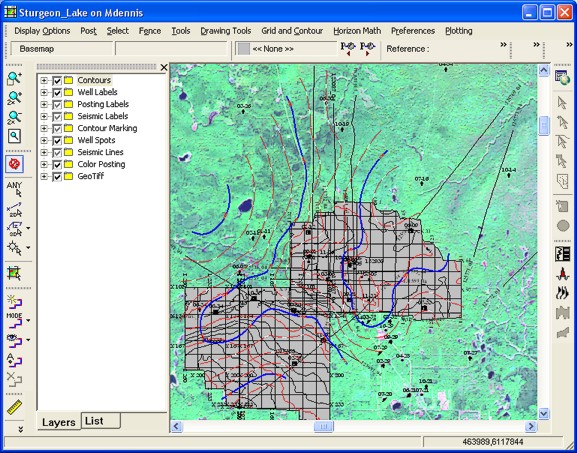
Follow these steps to import a GeoReferenced image onto your map:
| Import Georeferenced
Images to open the Import
GeoReferenced Images dialog box. View image|
Image Type |
Description |
|---|---|
|
*.BMP |
Bitmap |
|
*.ADF |
Arc/Info Compressed Wavelets |
|
*.JPG |
JPEG JFIF |
|
*.PNG |
Portable Network Graphics |
|
*.TIF |
GeoTIFF |
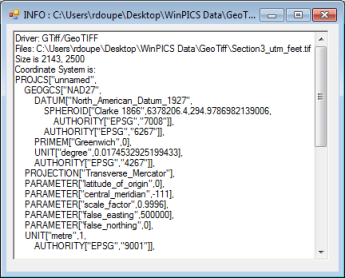
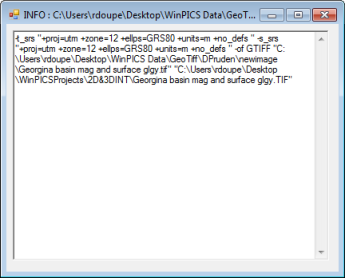
View imageView imageView imageView image
What do you want to do?