Open topic with navigation
About the Import WinPICS Seismic Line/Area Set Dialog Box
 View image
How to open the Import WinPICS Seismic Line/Area Set dialog box
- From the Application toolbar, click
 to open the menu.
- Select
About the import WinPICS seismic line/area set dialog box
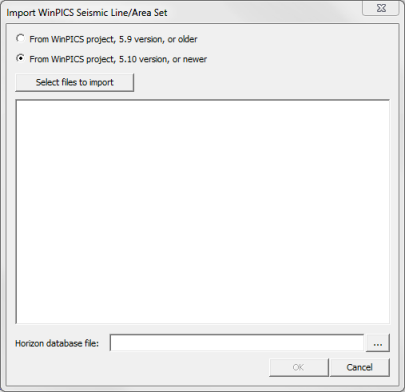
Use the Import WinPICS Seismic Line/Area Set dialog box to reliably copy a seismic line or volume from other projects. ProductName enables you to copy over data from both older versions of the application, and from newer versions. The reason for the distinction is that database changes were made for 5.10 therefore files are stored differently.
How the copy works
A few things you should note about how copying over files with the Import WinPICS Seismic Line/Area Set dialog box works in ProductName:
- Each time you try to import seismic data, ProductName performs an integrity check. This means it verifies that the seismic data files you are trying to import will not corrupt the database of the project you want to import them into.
- There are two options for importing seismic data: you can import seismic data from a project that was made in an older version of ProductName (v5.9 or older), or from a project that was made in a newer version of ProductName (v5.10 or newer). Older and newer versions are handled separately due to changes that were made to the database in v5.10. You must use the option that suits the data you want to import.
- If a horizon you are copying already exists in the project you are importing that data into, then ProductName will add the copied horizon's picks to your existing horizon.
- You cannot import a seismic line or area if it already exists in the project you're trying to import to.
- All versions of the seismic line or area you select will be imported, and ProductName will maintain its original line tie parameters.
How to import WinPICS seismic lines or area sets into your project
- Open the Import WinPICS Seismic Line/Area Set dialog box.
- Select the From WinPICS project, 5.9 version, or older or the From WinPICS project, 5.10 version, or neweroption.
- Select the option that suits the data you want to import. For example, if the data you want to import is from a project that was made in ProductName v5.9 or older, then select From WinPICS project, 5.9 version, or older.
- Click <Select files to import> to open a standard Open dialog box.
- Browse to the location on your computer where the project files you want to import are stored, and select all of the files you want to import.
- Click <OK> to close the Open dialog box. The files you selected will be listed in the Import WinPICS Seismic Line/Area Set dialog box, and the path to those files will be displayed in the Horizon database file box.
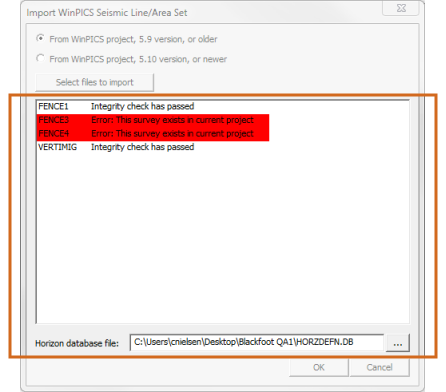
- In the above example, you will notice two errors. This indicates that the files highlighted in red already exist in the opened project, and ProductName will not import them.
- Click <OK> to begin the import. Once the import is finished, ProductName will display a confirmation message:
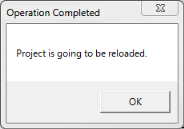
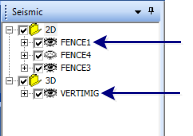
- Click <OK> to continue. Once ProductName reloads, your project will contain the imported seismic data.
What do you want to do?