Open topic with navigation
Divestco SEG-Y Import
WinPICS supports different versions of your seismic data. You can import Divestco SEG-Y version
files into WinPICS to work with
them in your map. To open the Divestco
SEG-Y Import dialog box, click  on the Import/Export
toolbar, and select
from the menu.
  View image.
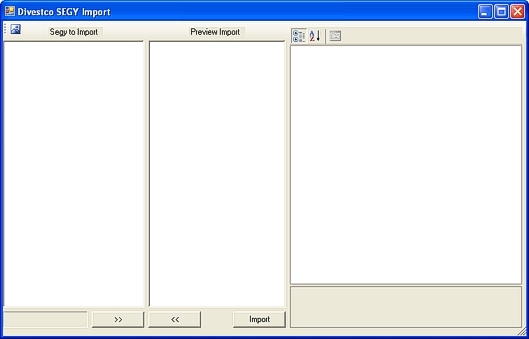
Follow these steps to import a Divestco SEG-Y file:
- Click
 to open the Open
dialog box, browse to the location of the Divestco SEG-Y (*.sgy) file and click <Open> to import
the file into the Divestco
SEG-Y Import dialog box. In the SEG-Y
Import window, you'll see a line named Import.
 View image.
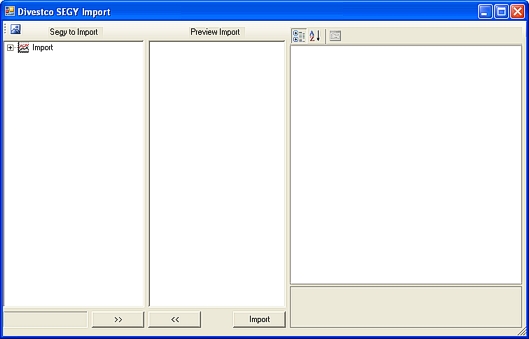
- Click <+>
beside Import to open a branch
for the file.
 View image.
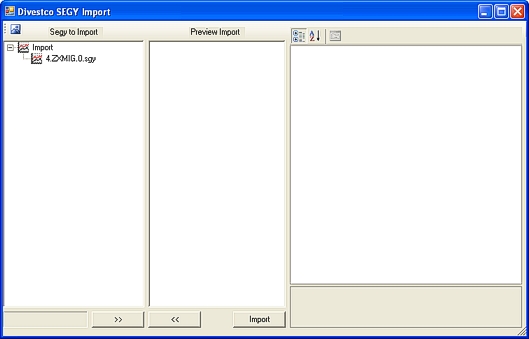
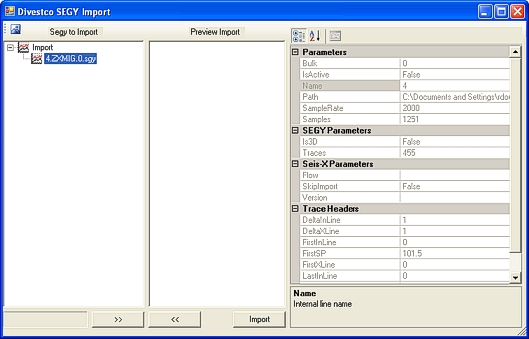
- Select a SEG-Y file. WinPICS
displays the file details in the window on the right side of the dialog
box. The Name field in the Parameters section displays the name
WinPICS will use to identify
and associate this file with the lines already in the project. You can
type a name of your choice in this field.
 View image.
- Click the
 button at the bottom
of the dialog box to add the selected SEG-Y version file to the Preview Import window.
  View
image.
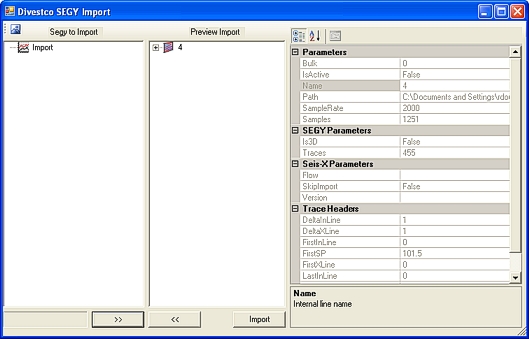
- Click <Import>
to import the SEG-Y files into your project. WinPICS
warns you that it needs to rebuild your database to add the new version file, and it opens the Rebuild 2D Intersection Lines dialog box, where you can configure the parameters for your revised project.
- When you have completed the import, WinPICS puts all of the lines into the SEGP1 Import folder by default.
What do you want to do?
 on the
toolbar, and select Divestco SEG-Y Import
from the menu.
  View image.
 on the
toolbar, and select Divestco SEG-Y Import
from the menu.
  View image.
 View image.
 View image.
 View image.
 View
image.