Open topic with navigation
Changing Seismic Views from Map Window
Changing seismic views from the Map
window is easy.
After you have set your window display parameters, you may wish to reuse
these parameters to view other seismic lines. This helps to make quick
comparisons between seismic lines.
You can select any currently open seismic line (Highlighted yellow on
your WinPICS basemap), and drag and drop it on any other available line.
WinPICS will replace the contents of the window with the new seismic,
but keep all the display parameters the same.
Changing 2D Seismic View
Follow these steps:
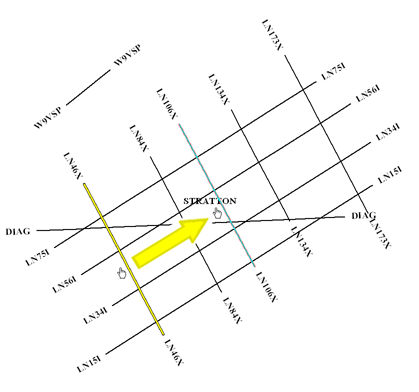
- Hover your mouse cursor next to the line that
you want to move. The mouse cursor will display as a
 hand.
hand.
- Left click and hold the mouse cursor on the line,
then drag the cursor to move the line.
- Position the cursor over the new line (the selected
line will be highlighted blue) and release the cursor. The contents of
the window will be replaced with the new seismic data.
 View image

Changing 3D Seismic View
Follow these steps:
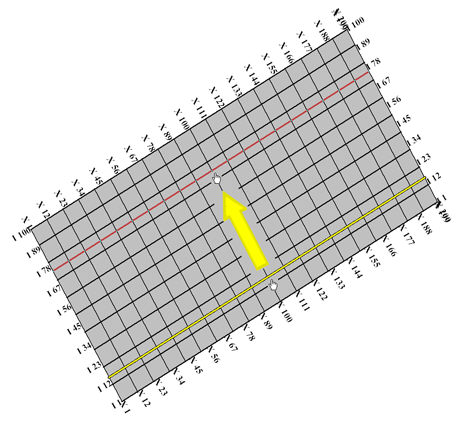
- Hover your mouse cursor next to the In-line or
Cross-line that you want to move. The mouse cursor will display as a
 hand.
hand.
- Left click and hold the mouse cursor on the line,
then drag the cursor to move the line.
- Position the cursor over the new line (the selected
line will be highlighted blue) and release the cursor. The contents of
the window will be replaced with the new seismic data.
 View image

- 3D
views are changeable in the orientation of the source line that is selected.
Changing 3D Fence View
Follow these steps:
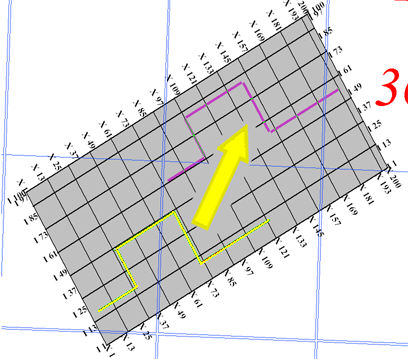
- Hover your mouse cursor next to the fence that
you want to move. The mouse cursor will display as a
 hand.
hand.
- Left click and hold the mouse cursor on the fence,
then drag the cursor to move the fence.
- Position the cursor over the new location (the
selected location will be highlighted blue) and release the cursor. The
contents of the window will be replaced with the new seismic data.
 View image

- You can step through your seismic in an arbitrary direction using
the Next \ Previous

 buttons
or press the <+> and <-> keys on your keyboard when
you are in the Seismic
window.
What do you want to do?
 hand.
hand. View image
 hand.
hand. View image
 hand.
hand. View image
 hand.
hand. View image
 buttons
or press the <+> and <-> keys on your keyboard when
you are in the Seismic
window.