Open topic with navigation
Non-Selectable Layers
When you import a layer that does not have any information
you want to select, you can change that layer's settings to become non-selectable.
The trick to making a layer non-selectable is to transfer no fields from
Available Fields to Display
Fields in the Choose
Data Fields dialog box. As long as your layer has no fields, then
there is nothing for the select tools to select.
Follow these steps to learn how to make a layer non-selectable:
- From the Main Menu bar, select Map
| Import Shape File to open the Import Shape File Layer
dialog box.
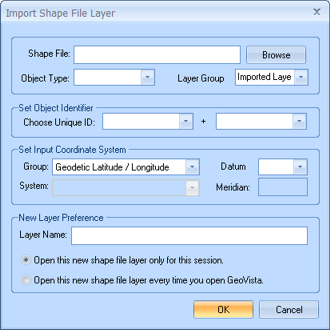
- Click <Browse>
to find and select your from the network.
- Set up the shape file options. Read
more.
- Click <OK>
to open the Choose
Data Fields dialog box.

- Click <OK>
to open the Layer
Name Properties dialog box. This dialog box opens with the shape
file's name in its title.
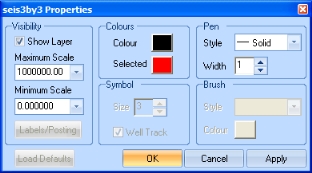
- Set the Maximum
Scale list to 10,000,000,
or set the remaining options in the Layer
Name Properties dialog box. Read
more.
- Click <OK>
to load your shape file into the current Map
View.
- When you click on the map using the
 or
or  tools, GeoVista will not detect your shape file.
What do you want to do?