Open topic with navigation
Editing Synthetic Panels
 View image

Open the Define Synthetic Panels Dialog Box
- Click on Select Well
 |Well Spot from the
Map Selection toolbar.
- In your Map view, click on the desired well. The Edit Well-spot dialog box opens.
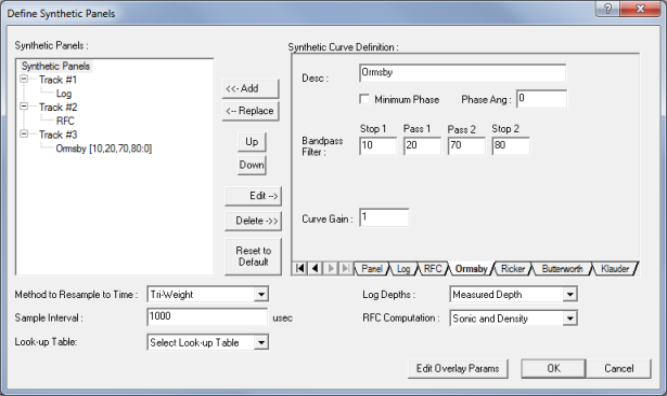
- Select . The Define Synthetic
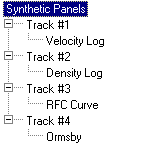
Panels dialog box opens displaying a list of active tracks.
Adding Panels
- Select the tab for one of the following filters: Ormsby, Ricker, Butterworth, or Klauder.
 View image

- The phase angle allows you to apply a phase correction
to the synthetic panel. Enter a value in degrees for the phase angle.
The default value "0" implies that no correction is to be applied.
- The curve gain factor allows you to apply amplitude scaling to the synthetic
panel. Enter a factor for the curve gain. The default value "1"
implies no gain will be applied.
- Modify the default filter parameters if required.
- Click the <Add> button to add a new synthetic panel track.
- To add a well log, select the Log
tab and choose a log curve from the pull-down list, and click <Add>.
Edit Curve Definitions
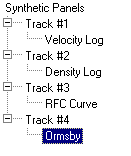
- To edit an existing panel, highlight the panel from the active list and
click <Edit>.
 View image

- The Synthetic
Curve Definition window will display the tab containing the
information for the panel.
- Complete any changes to the panel, and select <Replace> to update the panel definition.
Delete
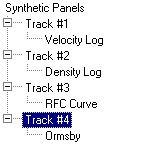
To delete a panel from the active list, highlight the track and select <Delete>.  View image

What do you want to do?
 View image
 |Well Spot from the
toolbar.
 View image
 View image
 View image