GeoCadd DXF Export Options

The GeoCadd DXF Export Options dialog box enables you to configure which information you want to export to your *.dxf file.

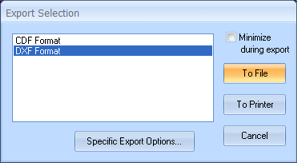
To open the GeoCadd DXF Export Options dialog box, follow these steps:

  1. From the Map Tools toolbar, select .
  2. On the Map View, draw a tiny rectangle on the province of Alberta. GeoVista zooms in to that area.
  3. From the Main Menu bar, select Query | New Query to open the Create New Query dialog box.
  4. From the GeoVista Databases list, select Grid_&_Culture.
  5. Click <Map Area> to create a result list of the area you zoomed in to.
  6. On the Object Manager bar, click the Result List tab.
  7. From the Result List tab's toolbar, click Ticket Options and Exports to view a shortcut menu.
  8. From the shortcut menu, select Export | Export Data | Report to open the Export Selection dialog box.

Export Selection Dialog Box: Grid and Culture Options

  1. From the options list, select the DXF.
  2. Click <Specific Export Options>. The Culture DXF Export Options dialog box opens.

GeoCadd DXF Export Options Dialog Box

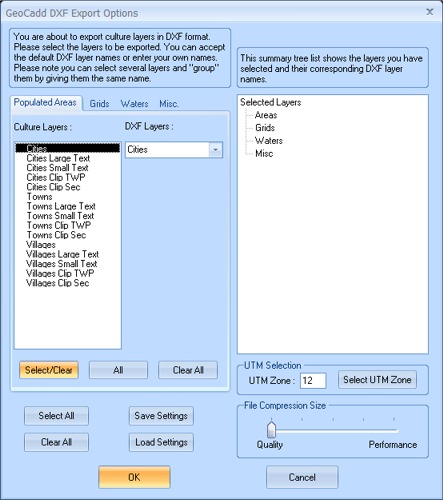
If you export large or complex maps, you might want to thin the lines for features such as hydrology. This option will significantly increase the speed to export your data, but you will lose some of the detail when you zoom the map.

To adjust this setting, move the File Compression Size slider to a position between Quality and Performance. As you move the slider towards Quality, your file will become more detailed and larger in size. The closer you move the slider towards Performance, the faster your data will export, but the map will have less detail when you zoom in on the features.

What do you want to do?