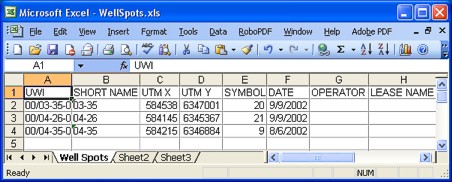
 |Well
Database from the
toolbar. A check mark in the Checkshot
column of the Well-spot Database signifies that a checkshot has been assigned to that well.
 View image
You may use the Edit Checkshots dialog box to modify an existing checkshot or to enter a new checkshot from scratch.
 |Well
Database from the
toolbar. A check mark in the Checkshot
column of the Well-spot Database signifies that a checkshot has been assigned to that well.
 View image

In this window you can change the reference elevation or edit existing depth and time values for the checkshot. You can also view checkshot values in converted units.
You may view or enter time as microseconds, milliseconds, or seconds. Depth may be viewed or entered as meters or feet. Note that these settings will not correct units that were incorrectly identified. If you failed to specify the correct units initially you will need to re-import or re-enter the checkshot specifying the correct units. See Importing Checkshot Surveys.
To hand enter a checkshot from scratch. Set the reference elevation of checkshot survey and define the reference elevation units. Specify the units for time and depth values. Next, click <Add Row> and enter the TVD depth and associated time. Repeat until you have entered all the data points for your checkshot. Click <OK>.
|
Option |
Description |
|---|---|
| Assign Checkshot |
Allows you to select a saved checkshot and associate it with a well. |
| Unassign Checkshot |
Removes the checkshot's association with the well, but the checkshot will remain in the Checkshot Database. |
| Delete Checkshot |
Deletes the Checkshot from the Database completely. |
What do you want to do?